Gravel Bike Setup & Kit
Here are some of our essential tips & tricks on on how to set up your Gravel Bike, and what essentials to take along for the Festival 55km, Monumental 135 km & Epic 220km ENVE Stone Circle routes.
One of the most common questions we get from those joining us for the ENVE Stone Circle is around the bike set-up and kit you’ll need.
Don’t worry, with the help of route designer and Ride Captain Dan, we’ve put together a guide to help you start the day confident of a stellar ride!
BIKE
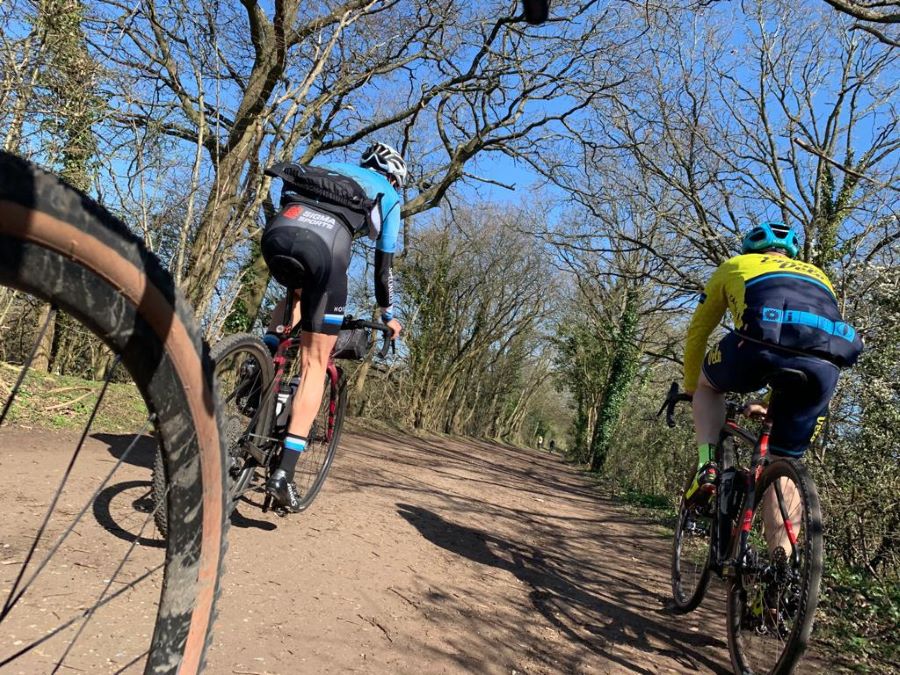
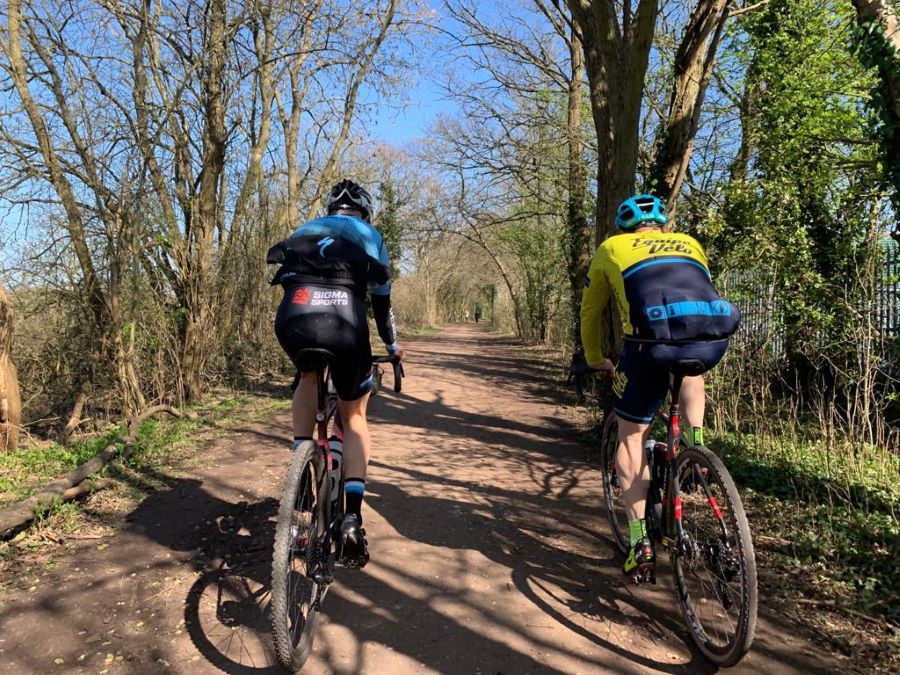
This route was designed with the gravel bike in mind and is definitely a “gravel” route, so it makes sense that a dedicated gravel bike will undoubtedly be the most efficient rig to choose. You could ride it on an XC MTB but there are plenty of fast rolling sections where a flat-bar set-up is going to leave you eating dust. The technical sections are few and not too tough, short enough that you could always rely on a bit of hike-a-bike if it really came down to it.
TYRES
Ride Captain Dan says, “38mm is the absolute minimum tyre width that I’d run and, for comfort over such a long day and plushness on the fast gravel roads, I’ll probably be opting for 40-45mm. That will let me roll at 25psi (as an 85kg rider), maximising comfort without worrying about pinches and rim impacts”.
“With any luck we won’t be dealing with much mud come late June, but it only takes a bit of moisture, even some morning dew, for chalk upland trails to get a bit greasy. A tyre that’s has a fast rolling centre with some side knobs would be your best bet.”
“A tubeless set-up is an absolute no-brainer. Fast rolling gravel can mean high speed impact with sharp edges and running tubes is just asking for pinch flat woes. Every puncture victim I rode past last year was running tubes!”
GEARING
There’s no real sustained or super steep climbing on the route so there’s no need to be fitting MTB or mullet gearing. In fact, you want to make sure you have big enough gears to make the most of the fast rolling sections and not to be spinning out. That said, with 200+ kilometres in your legs, you might want a bit of a “limp home” option.
Ride Captain Dan says, “I’ll be opting for a 1X set-up with a 42t chainring and a 10-42t cassette. Some short sharp punches might welcome more of a ‘granny gear’ but it’s by no means a must”.
NUTRITION & HYDRATION
We’ve planned plenty of refuelling opportunities for you en-route. You should plan to drink around 500ml of water an hour and more if it’s warm, so come prepared.
For your planning we have four food stops on the 220km route, three on the 155km, and one on 55km routes. Here you can stock up on sports nutrition, fill your belly with delicious food that will keep you going all day long as well as refill your water bottles. However, please note that you may still have two to three hours of riding between stops. We suggest that you are able to carry around two litres of fluids with you. Two 750ml bottles will do if you’re a quicker rider but it might be worth thinking about a bladder.
You’ll also need to be carrying your favourite snacks and have easy access to them – even when riding on rough stuff. A ride of this length is as much about fuelling well as fitness so have a good think about how you’ll carry your fuel.
The route enjoys long stretches of countryside and only passes a few towns of villages. While there are some shops along the way, there are long sections where you will not be able to top up your snack-stash. So plan well!
Long and medium route riders, you do have an opportunity to send some of your favourite snacks or nutrition ahead to the second feed stop. So bring some extras if you wish.
GPS
You’ll need a reliable and fully charged GPS head-unit to navigate with. Please do not be tempted to use your mobile phone for this or have GPS apps running on your phone as this will drain the battery and you may well need it to make an emergency call.
COMPACT POWER BANK
It’s going to be a long day and you don’t want your GPS battery failing you. If you’re not confident of its battery lasting the distance, carry a power bank and the required cables.
DON'T SAY THE P******* WORD!
TUBELESS REPAIR KIT
Darts/Plug/Worm/Anchovy
As I’ve already said, I’d strongly recommend that all riders run tubeless set-ups with minimum 38mm tyres. This will significantly improve traction and comfort and, more importantly, hugely reduce the likelihood of punctures.
No tyre is 100% puncture proof though and, for bigger holes, it can be necessary to use a dart, plug, worm or anchovy to aid sealing. Make sure you have a kit and you know how to use it.
VALVE CORE REMOVAL TOOL
Some multi-tools have one of these but, if not, pop one in your tool kit – you can also get ones that double as valve dust caps. These are invaluable when using gas canisters, to avoid the dreaded freeze/seize/another canister please scenario.
SEALANT
After a puncture, a top up of sealant can aid sealing and replace any lost sealant so that you’re protected against any future punctures. Many brands sell top-up pouches that you simply squeeze through the valve.
PUMP OR CO2 INFLATOR
A micro-pump is useful for topping up tyres but, for inflating a tyre from flat, especially if it has unseated, the quick blast of a CO2 inflator is far more effective.
INNER TUBES AND TYRE BOOTS
Occasionally a hole may be too big to seal and the only solution is to pop a tube in so, for a ride of this length, even when running tubeless, I’ll still carry two tubes. You’ll also need a boot in this situation to stop the tube extruding through the hole/gash. Having some dedicated boots is the ideal but a wrap of gaffer tape around one of your bottles can be pressed into service, a gel wrapper or even a plastic bank note.
OTHER ESSENTIALS
FIRST AID KIT
A compact first aid kit including a foil survival blanket should really be on your bike or in your pocket for any off-road ride. It’s not just for you - let’s look after each other out there.
SPARE REAR MECH HANGER
A cheap spare part that you can probably pack and forget about but which can make the difference between finishing a ride or not.
MULTI-TOOL WITH CHAIN TOOL
If you need to tighten a bolt or adjust your saddle height, you don’t want to be wasting time asking around for a tool. If you don’t have a chain that has a quick/missing link or in certain other scenarios a chain tool is necessary for breaking and rejoining the chain.
CHAIN SPARES
It’s a good idea to pack a quick-link or missing-link for your chain. These will be specific to the make of chain/number of gears you’re running. Make sure you bring the correct ones and, if in doubt, double check with your local bike shop.
Some links (such as KMC) require a special tool (resembling small piers) to open them. Again, make sure you have the correct tool for your chain.
LUGGAGE
You’re going to have to carry all of this but it’s not a bike-packing trip so there’s no need to carry the kitchen sink. A saddle-pack, top-tube bag and jersey pockets should give you more than enough kit real estate - go as light as you can, you don’t want to make 220 kilometers any harder than it has to be!
We look forward to seeing you at the Festival Fort for ENVE Stone Circle. It promises to be an unforgettable event and we can’t wait to share the Summer Solstice with you. For more information about the event, click the link below. Happy trails!